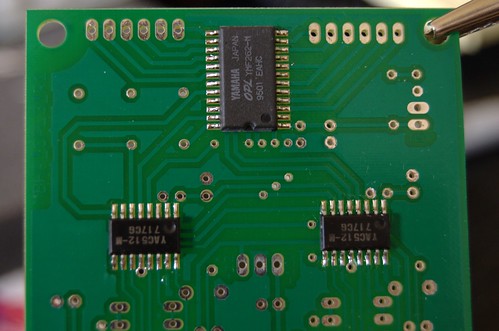
I started from one corner of each IC with a little bit of solder on one of the pads. As soon as that corner was secure I jumped to the corner opposite of he previously soldered pin. Solder that pin. This method allows you to tack down the IC for hands free soldering. Once the IC is tacked down, the rest of the pins are easy enough. Keep a solder sucker handy just in case you bridge any pins. Move fast and keep any heating of the chip as minimal as possible.
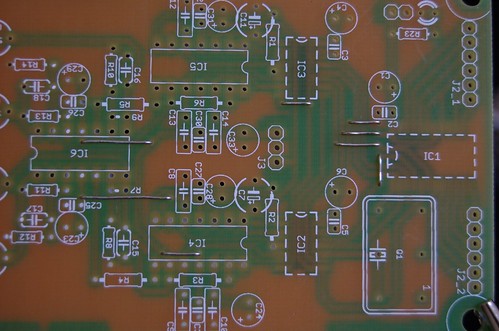
Here is the PCB with all required jumpers installed. The jumpers are made from salvaged leads left over after soldering components.
3 comments:
When do I get to solder? I guess in San Fran.
I'm good at answering my own questions. In fact, I am only thinking aloud in this manner to leave you a comment because no one else has, and to look at the pretty pictures.
these SOIC ICs are pretty easy using a rectangular tip. just attach one pin as you write, then just melt more solder and drag downwards the pins. sometimes the last pin requires pump or solder wick but the row usually goes on the first try.
they are not THAT sensible to overheating, 10 to 15 seconds are normal.
I have even added solder to both
sides then heating up alternating until the whole IC can be lifted up (microcontrollers), in order to desolder them, and they survived that perfectly.
previously I have also tried point tip but then saw some videos on youtube for SMD soldering.
@alex I tried using the solder dragging method in the past but it never worked right for me. Now I realize that I should have been using a rectangle tip. There are a few SMD PCBs that I want to do in the next few weeks so I will have to give the solder dragging method another attempt. Thanks for the tip.
Post a Comment